In this guide
At a glance
- Choose an approach
- Alpines, gravel or stone composition
- Check first
- Drainage and plant requirements
- Scale
- Start with a manageable area
A rock garden is most convincing when the plants and stone look as though they belong to the same place. A few well-chosen rocks can give small plants a setting and make their shape easier to notice. More boulders do not automatically improve the result. Start with the growing conditions and the scale you can manage, whether that is a small bed, a shallow slope or a planted trough beside a path.
Choose the kind of rock garden you want
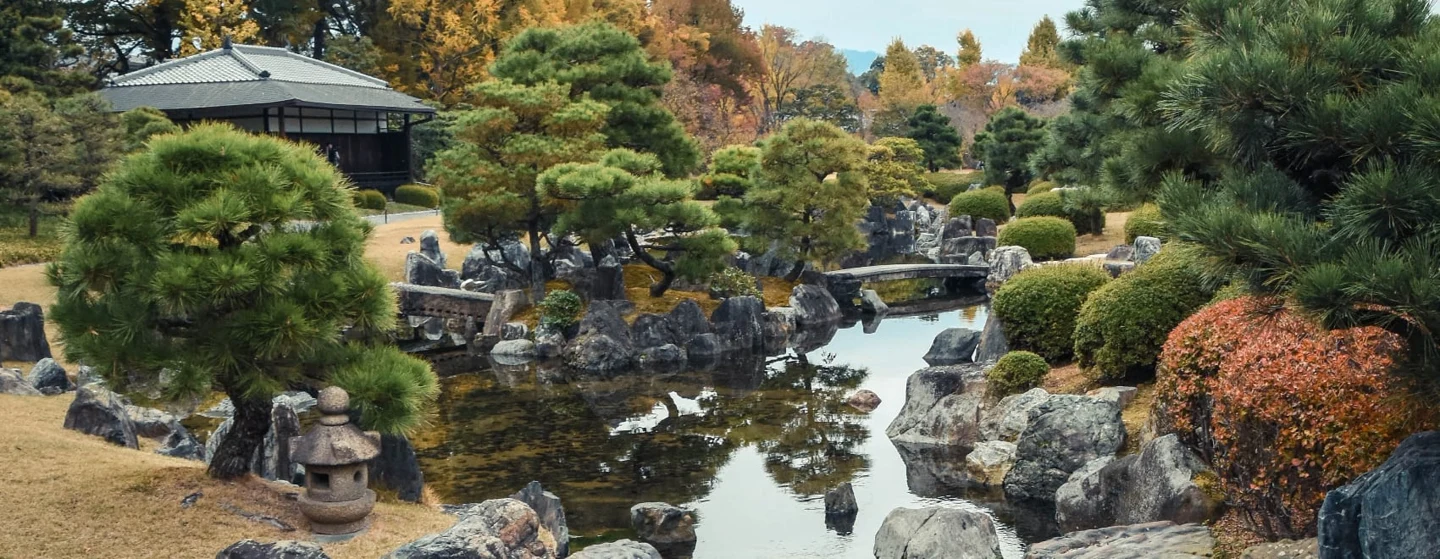
An alpine rockery, a dry gravel garden and a Japanese-inspired arrangement of stone are not identical projects. Decide whether your main interest is growing small plants, arranging a sculptural feature or creating a wider planting style. The purpose will guide the materials and the amount of soil and open space.
For a first planting, a modest area is useful because you can inspect the plants closely and understand how it drains. A container or trough can offer a defined setting without committing a large part of the garden. Make sure its weight, position and drainage suit the site before filling it.
Let drainage guide the plant choices
Many plants used in alpine rock gardens need very good drainage, and winter wet can be a greater difficulty than cold. Check the requirements of the actual species rather than assuming every small plant likes the same gritty mixture.
Assess the ground before building. A few stones placed on top of a poorly drained bed do not change what happens around the roots. Resolve the growing conditions as a whole, using a suitable soil or container mix for the selected plants. Where the site is damp or shaded, choose an approach and plants suited to that situation instead of forcing a sunny alpine scheme.
Use a coherent stone palette
Choose stones that relate in colour, texture and form. They do not need to match perfectly, but a limited selection can make a small arrangement easier to read. Position the larger elements first and examine the view from the places you will use.
Let some stone sit into the ground so it feels connected to the setting rather than balanced on top. Keep construction stable. Heavy lifting, steep work and retaining features require appropriate equipment and competent help. Do not imitate stacked or apparently balanced stones from a photograph without considering how they will remain secure around people and plants.
A practical sequence for a small planted rockery
- Mark the outline, check for underground services and remove persistent weeds. Confirm how water will drain before adding material.
- Prepare a stable base appropriate to the ground and project. A poorly drained site may require a raised design or drainage work; surface grit alone will not repair it.
- Set the main stones first, bedding them securely into prepared hollows rather than leaving them perched on the surface. Keep related strata running in a consistent direction and avoid unstable stacks.
- Fill between stones with suitable weed-free soil, leaving pockets for planting. For many alpines, the RHS suggests an initial mix of equal parts loam, horticultural grit and leafmould or coir, adjusted for the chosen plants.
- Set watered pots in position, allowing for mature spread. Plant into the pockets, firm appropriately and apply a suitable grit or gravel surface dressing. Check drainage and stability before extending the scheme.
Three plants for different rock-garden positions
For a sunny, sharply drained pocket: Sempervivum tectorum, common houseleek, forms fleshy rosettes and suits full sun with well-drained soil. Protect it from excessive winter wet rather than assuming its succulent leaves make drainage unimportant.
For sunny neutral-to-alkaline soil: Dianthus gratianopolitanus, Cheddar pink, forms low foliage with fragrant pink flowers. It needs good drainage and full sun; it is not the choice for a damp acidic pocket.
For sun or partial shade with moisture but good drainage: Campanula poscharskyana, trailing bellflower, can soften an edge with violet-blue flowers. It spreads by underground runners, so allow space and keep it from overwhelming smaller neighbours. Check local suitability and the available room before using it in a tiny trough.
Make access part of the design
Leave a stable route for looking after the planting. Do not rely on stepping between fragile specimens or on loose decorative rocks. If the garden is viewed mainly from a path, arrange the detail where it can be seen without crossing the bed.
Use an appropriate surface dressing where it suits the plants and helps the composition, while keeping crowns and drainage requirements in mind. Avoid treating landscape fabric or gravel as a guarantee against weeds. Soil and organic debris can still collect, and plants will still need checking. The design should make those small jobs easy to do.
Use a trough to test the relationships at a smaller scale
A trough can teach you more than a large rockery if you treat it as a small landscape rather than a pot filled with gravel. Begin with its permanent position and filled weight. Confirm drainage and support before adding heavy material, and place it where the small plants can be inspected without awkward lifting or climbing.
Choose one planting approach. A sunny alpine trough, a shaded fern composition, and a crevice arrangement need different plant and medium choices. The container does not make incompatible plants compatible simply because their nursery pots are all small.
| Part of the trough | Question to answer before planting |
|---|---|
| Deep pocket between stones | Can the chosen roots develop there, and can surplus water escape? |
| Exposed upper edge | Will this plant tolerate the drying and exposure of that position? |
| Sheltered side of a stone | Does the shade and moisture pattern suit the plant rather than just its size? |
| Front viewing edge | Will mature growth hide the smaller neighbors or obstruct inspection? |
The RHS trough guide includes a crevice method using layered stone with growing medium worked into the spaces. The important point is a real root run between the stones, not a thin dusting of soil over a decorative stack. Plant small specimens carefully so roots enter the intended pocket, then settle the medium and water appropriately. Follow a complete method suited to the selected plants rather than copying only the visible stone pattern.
Leave some surface visible while plants establish. A compact-looking alpine can still spread, and the empty spaces help you notice weeds, lifting roots, and pockets staying too wet. Mark each plant's position on a quick drawing; tiny labels are easily hidden when growth begins.
Watch the trough through changing weather before extending the same mixture to a larger bed. A small container's temperature and moisture can change differently from the ground, so success is informative rather than a guarantee. Record which side of a stone worked and why. That observation gives the next design a stronger basis than another collection of attractive miniature plants.
Start small enough to observe
Set out pots before planting and check the arrangement from the main viewpoints. Water new planting according to its needs, then watch which positions work through changing weather. A small trial can reveal problems with wetness or excessive shade before you expand the scheme.
Remove weeds gently, manage overgrown neighbours and clear debris that smothers small plants. Keep notes of what performs well rather than replacing losses with the same unsuitable choice. A rock garden can develop slowly and still be rewarding. Its strongest feature may be the close relationship between one plant, one stone and enough space to see them both.
Sources & further reading
This guide draws on horticultural and specialist references. Conditions vary with climate, cultivar, and site.
- RHS: Rock gardening
- RHS: Plants for rock gardens
- RHS: Sempervivum tectorum growing conditions
- RHS: Dianthus gratianopolitanus growing conditions
- RHS: Campanula poscharskyana growing conditions
- RHS: sink and trough gardening, including crevice construction