Cultivating your own vegetable patch has about a million benefits. It’s relaxing, not to mention really healthy. But what if you live in an apartment or just don’t have enough space? That’s where growing microgreens comes in. In this guide, we’ll offer you a practical and amazingly healthy alternative to conventional gardening.
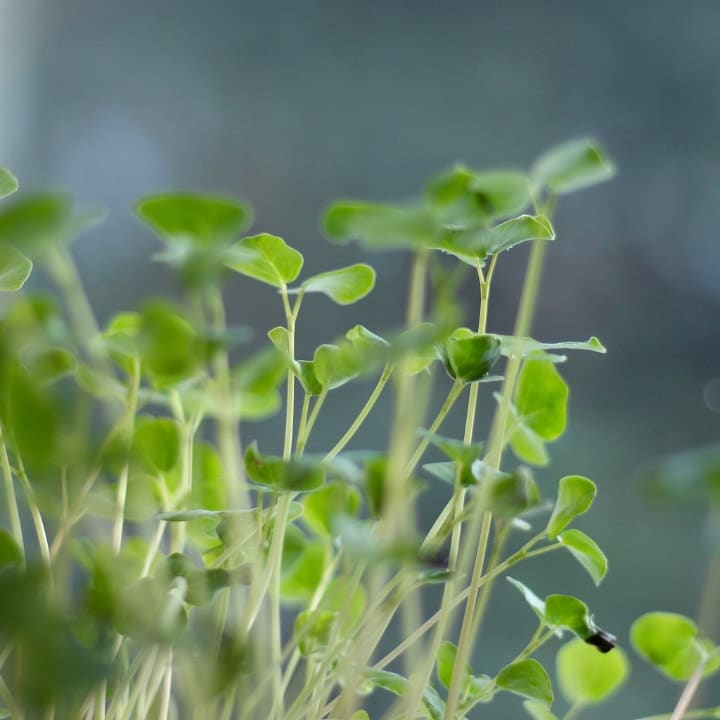
In this thorough guide, we’ll give you all the information you need to know about growing microgreens at home, from planting tips to harvesting, even to the best recipes that include these delicious greens.
So, are you ready to grow some microgreens?
What Are Microgreens?
But first, let’s define the term. The name is somewhat telltale–microgreens are the early shoots of salad vegetables.
They’re greens that are harvested very early on, right as the cotyledon leaves develop, and are fairly new on the cooking scene.

While they often serve a visual purpose (especially in dining rooms and elegant restaurants), most people harvest them for their nutritious value.
There are manytypes of microgreens: from micro carrots to cauliflower to lettuce. Basically, most of the veggies you’ve eaten up till now in your life have a good chance of popping up in a micro variant as well.
Are Microgreens Healthy?
Yes, of course, that’s the whole point of growing them!
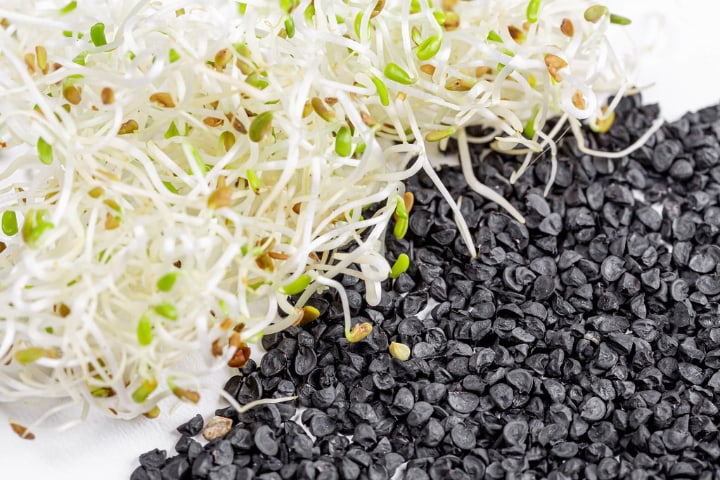
As we’ll see in the section below, microgreens have loads of benefits for your health, the top-most one being that they’re an excellent source of antioxidants and essential nutrients.
How Does Microgreens Farming Differ from Growing Standard Veggies?
Microgreens are harvested much earlier than regular veggies, and what’s more important, they are harvested without the root.
This means that once you’ve nipped the shoots, the plant is free to produce more, which ensures another microgreen harvest in the near future.
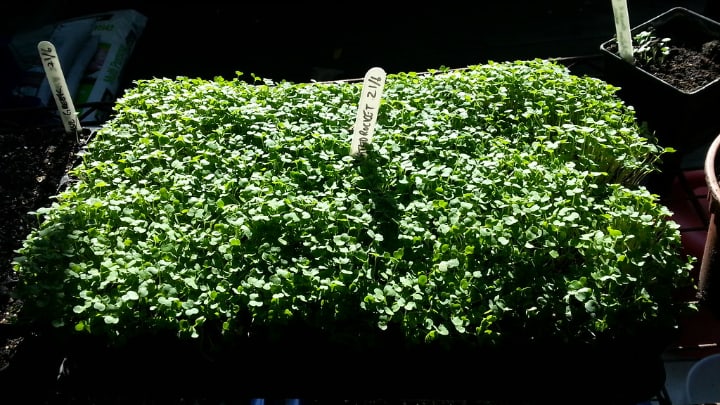
Another (rather obvious) difference is that microgreens will be easier to grow if you are tight on space. Normally, if you wanted to plant a decent-sized vegetable patch, you’d need ample space and a garden.
Microgreens, however, take up much less space, particularly since they don’t need to be harvested to maturity or sprout.
Is Eating Microgreens Risky in Any Way?
Many people worry about this, but the truth is microgreens are completely safe to consume.
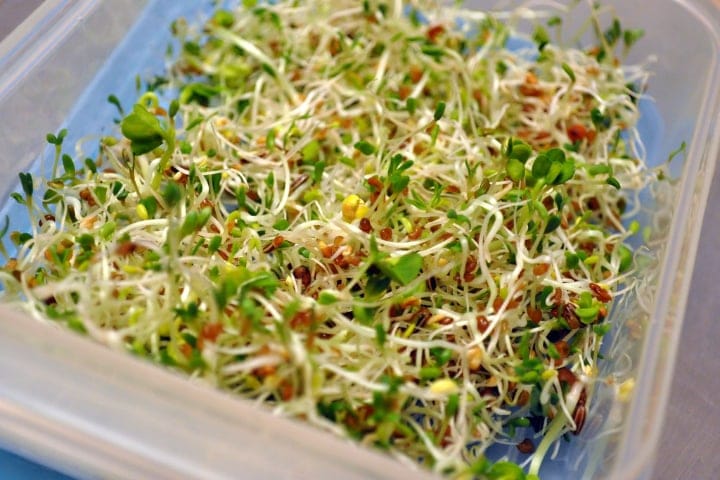
There is a chance for bacterial growth, but it’s believed to be much smaller than in regular vegetables.
Health Benefits of Microgreens
Now that we’ve got a basic idea of what microgreens are, let’s have a look at why you should be growing them and including them in your meals.
As everyone knows, a varied diet is important for leading a healthy life, and this usually includes a fair amount of vegetables.
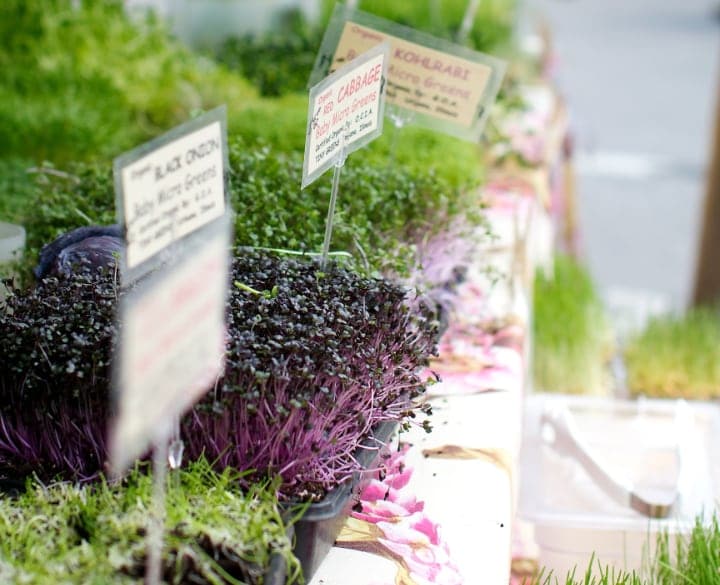
But why grow and consume microgreens?
Source of Antioxidants
As we already mentioned, microgreens are a potent source of antioxidants, which are compounds that prevent oxidation.
When oxidation occurs inside the body, it can result in the creation of free radicals, which can, in turn, damage the cells within.
Antioxidants consumed through your food can also combat the effects of other free radicals, such as the ones you are exposed to on a daily basis thanks to pollution.
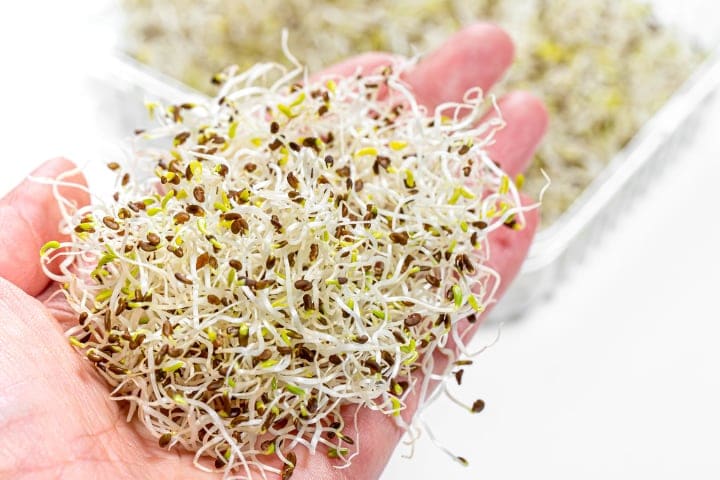
Research has also shown that microgreens tend to have more polyphenols and other types of antioxidants than mature veggies. So basically, one of the largest benefits of microgreens is that they come in a small size but deliver much more than traditional vegetables.
So already, microgreens are helping you lead a happier, healthier life.
Nutrients
Next on the long list of microgreens benefits, we’ve got the huge amount of nutrients each one contains.
As always, broccoli sits at the top of the list as one of the healthiest (micro)greens you could consume.
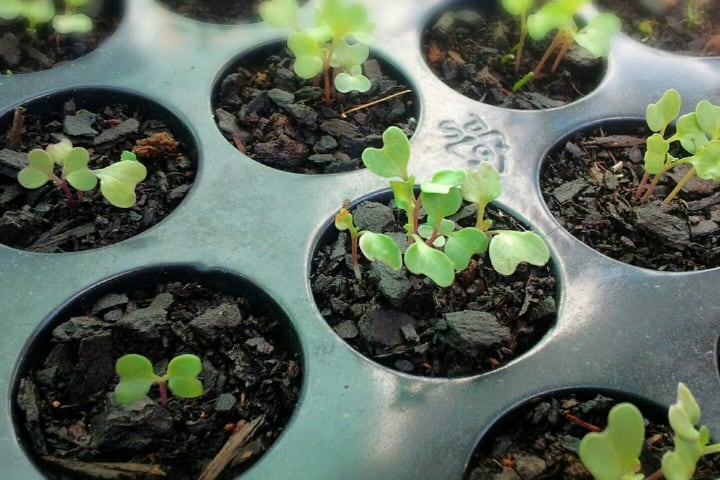
It’s been proven to be the source of a good dose of essential nutrients, like zinc, iron, potassium, magnesium and copper, all of which are necessary for the proper functioning of your body.
But that’s nothing special. All vegetables are a good source of nutrients and antioxidants, so what makes microgreens stand apart from the rest?
Did you know: As a plant matures, it loses some of its antioxidants and the concentration of nutrients grows smaller.
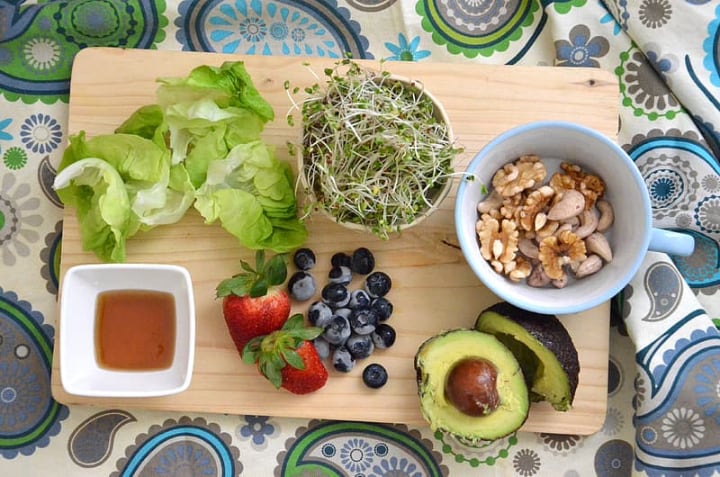
In other terms, microgreens, being young shoots, contain a much more concentrated amount of nutrients–some research suggests up to nine times (!) that of their mature counterparts.
So you can eat microgreens and get a lot more than you’d get simply eating veggies.
Disease Prevention
A healthy antioxidant and nutrient intake is important, regardless who you are and how you’re feeling.
But it becomes even more important when you suffer from a serious health condition, since antioxidants, nutrients and minerals are literally your soldiers in the field.
They’re responsible for strengthening your body so that it’s capable of better fighting disease. At the same time, antioxidants can help prevent certain diseases. Here’s what we mean.
Cancer
By far the most impressive claim of microgreens is that they can lower the risk of cancer, through their high antioxidant count.
Diabetes
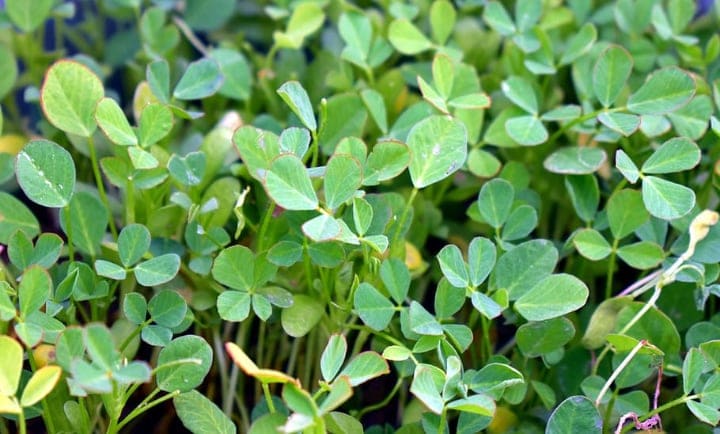
Again, we’ve got antioxidants to thank for this one, as they reduce stress. And this stress is what prevents sugar absorbed from your diet from entering the bloodstream. In fact, fenugreek can improve sugar absorption by as much as 40%.
Alzheimer’s Disease
Antioxidants have also been linked with lower chances of developing Alzheimer’s and an overall better functioning.
Heart Disease
Finally, polyphenols (a type of antioxidant) are also responsible for lowering the levels of bad cholesterol in your body, which can in turn prevent and lower the risk of heart disease.
Bottom line: eat your (micro)greens!
Best Microgreens to Grow
Okay, so where do you start? You can’t grow all microgreens at once. Or rather, you can, but you’re probably looking to start with something.
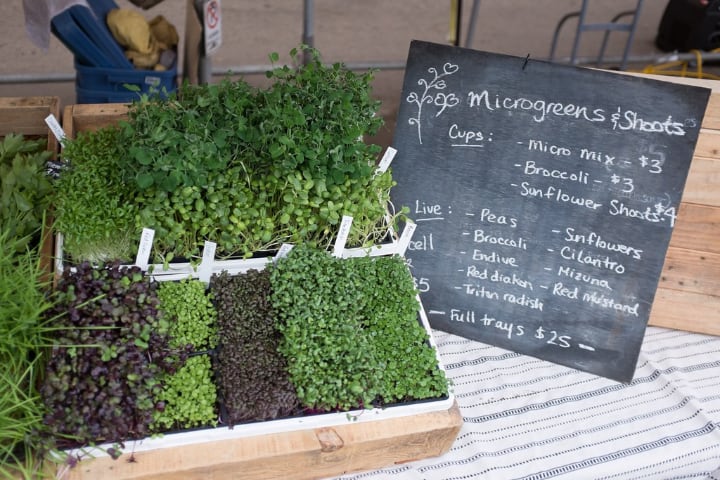
Below, we’ll give you a few pointers about growing various types of microgreens, as well as certain benefits each type can have for your health.
We won’t be talking about growing tips just yet, we’ll keep that for the next section.
Broccoli
As we mentioned above, broccoli microgreens are exceptionally healthy for you, and they’re very easy to grow. You can have a fresh tray of broccoli shoots in as little as seven days.
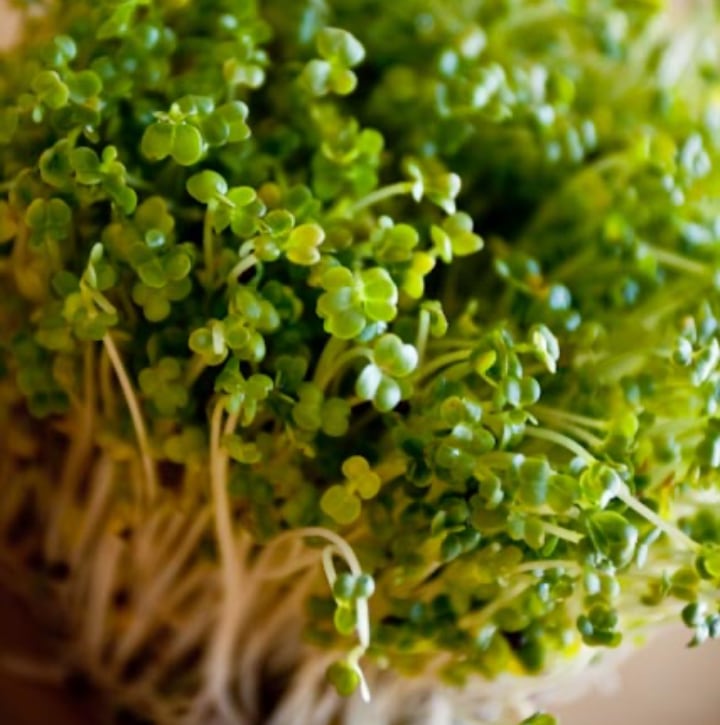
Something that really impressed us about broccoli microgreens is that a Johns Hopkins study linked them to improved communication in children suffering from autism.
Broccoli microgreens also have anti-aging properties, as they prevent cellular damage.
Peas
Pea microgreens are another excellent harvest, as their winding, green tendrils are a nutrient powerhouse.
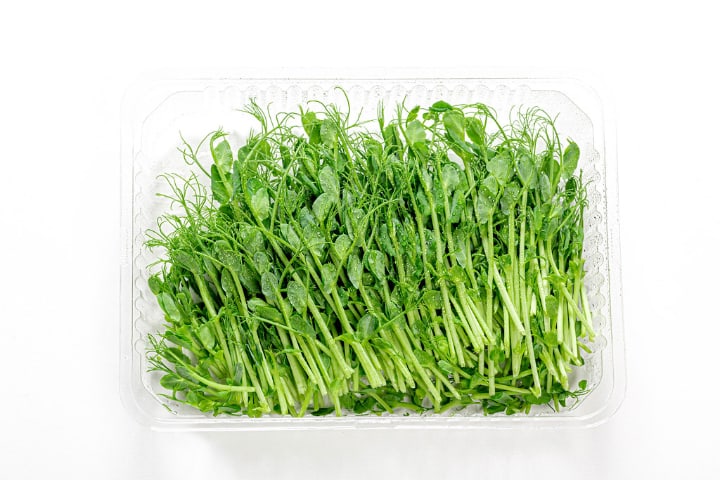
Packed with vitamins A and C, micro-peas are easy to add to salads and deliver the savor of fresh peas, without the tediousness of shelling.
Radish
Radish microgreens are considered the easiest to plant and grow, and we heartily recommend them if you’re a microgreen beginner. They shoot up in as little as 10 days from planting.
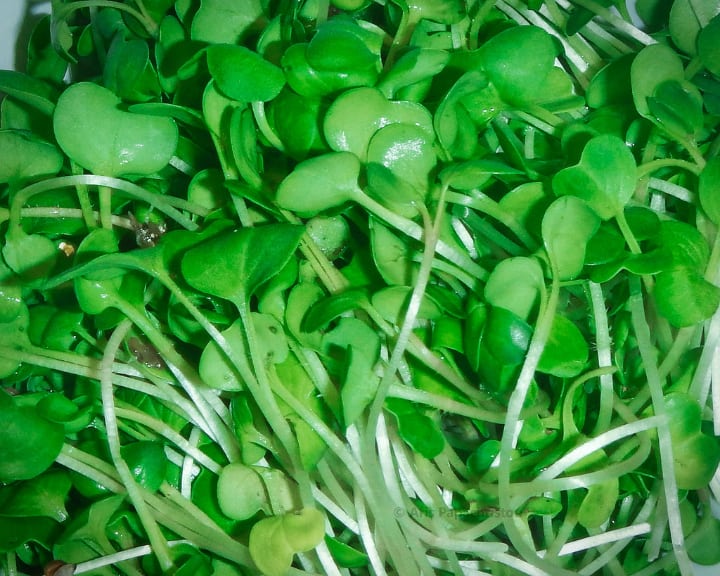
Thanks to the bright green leaves, most people assume that radish shoots would taste… well, leafy. But they don’t.
Radish microgreens taste more like a peppery radish than anything else and provide a strong flavor to any dish.
Sunflower
Sunflower shoots are a big favorite in the gardening community, as they are super-healthy (they really pack a nutrient patch).
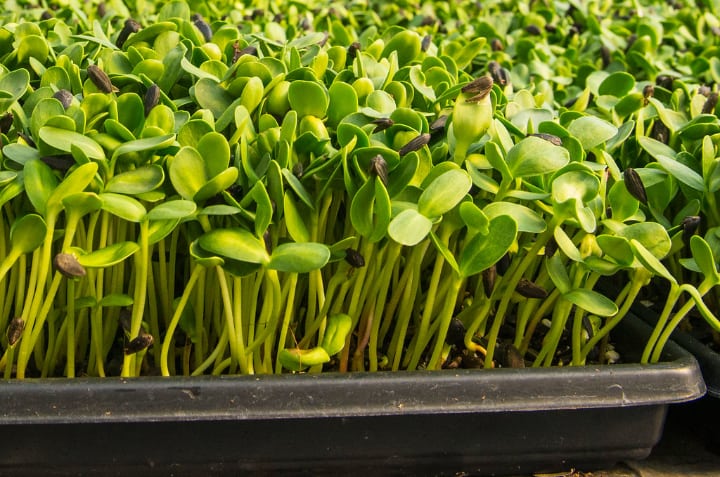
Delivering about a tenth of your daily recommended dose of iron, and pretty much any imaginable vitamin, sunflower greens are also among the easiest shoots to cultivate and you could be eating them in as little as two weeks from now!
Fenugreek
Fenugreek has a long reputation for its hormone regulating properties. It’s frequently used as a tea or supplement by menopausal women, as well as those with an irregular cycle. Alternatively, it can be used by men to boost potency and virility.
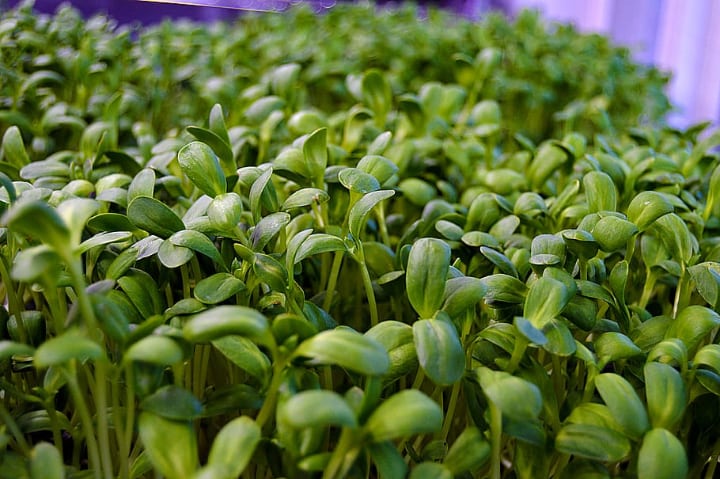
The shoots are also super rich in antioxidants and fiber, so yet another reason to choose fenugreek as your first microgreen batch!
Lentils
Lentil microgreens are very high in fiber and protein. They also deliver a very interesting type of carbohydrates, and best of all, they rank very low on the glycemic scale, meaning they’re very good for a diabetic diet.
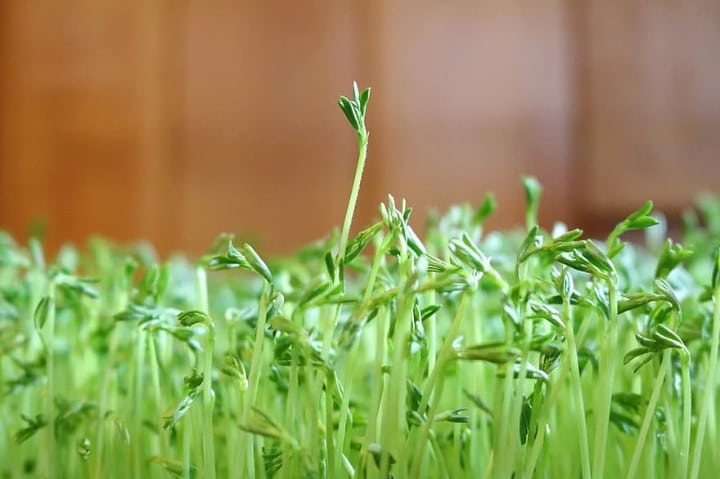
Important: Lentils have been known to help regulate the levels of bad cholesterol in your body, and thus provide a strong boost to your heart’s health.
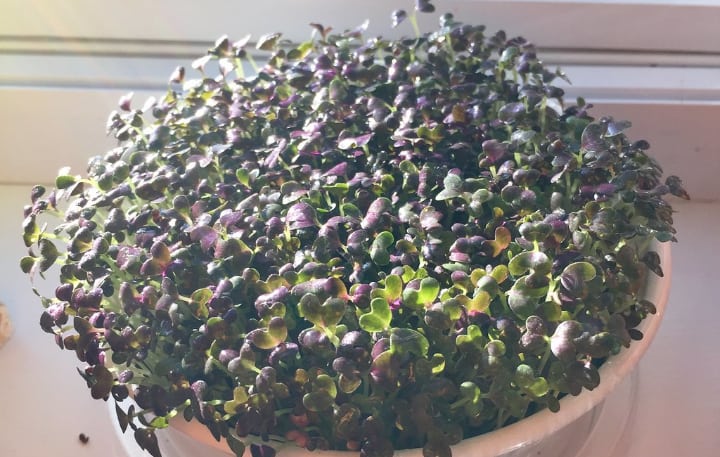
Mustard
Mustard has always been known for its strong flavor, and the green shoots of this veggie aren’t any different.
Known for all the health benefits above, mustard microgreens have also been said to aid hair growth, as well as clear up congestion and stuffy sinuses.
Not to mention, mustard is good with pretty much anything, so there’s no shortage of excellent recipes that include mustard shoots.
Note: You may see the term “micro herbs” used on some websites that also talk about greens. They are basically the same thing and the two terms are usually used inter-changeably. Micro herbs are so called because you are basically eating the herb seedlings of veggie plants.
How to Grow Microgreens Step by Step
So now that we’ve had a look at the most popular types of microgreens, let’s talk a bit more about how to grow them. As we mentioned, the benefit of these little shoots is that they can be grown in the comfort of your own home.
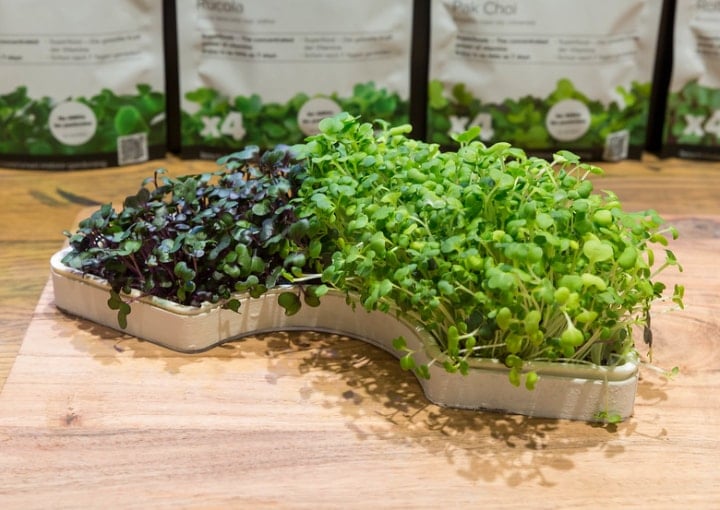
While most microgreens require specific lighting and temperature, they take up very little space, which is great news if you like gardening, but live in an apartment.
Microgreens can be tricky to grow for beginners. You need to first learn a few tricks before you get the hang of it. But then you’ve come to just the right place for that.
Step-by-Step Instructions on Growing Microgreens
Step 1 – Get Some Seeds
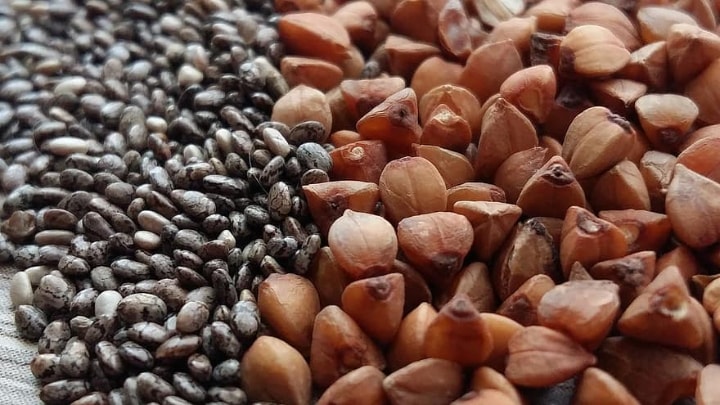
First, you’ll need to go out and buy some seeds. There are many specialty stores that sell these.
We recommend asking around or reading forums on the internet first, to ensure you’re buying from a quality vendor.
Of course, once you’ve bought the seeds, make sure you read the package for instructions. Each type of microgreen seed may have its own resources, so don’t assume that all grow in the same way.
Step 2 – Get a Small Container
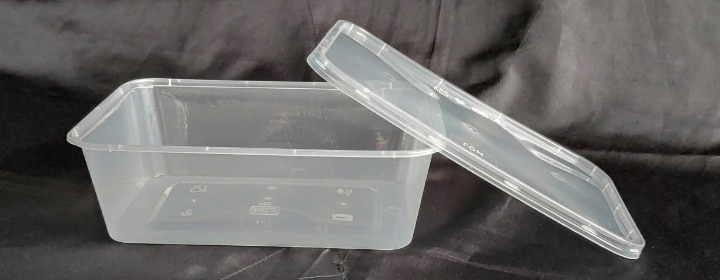
You can purchase this as well, when you purchase the seeds, or simply use a clear fruit container or a disposable pie plate.
One thing to note, if your chosen container doesn’t have any drainage holes built in, make sure you poke some into the bottom, so as not to drown your seeds.
Obviously, make sure the container is clean before using it.
Step 3 – Prepare the Container
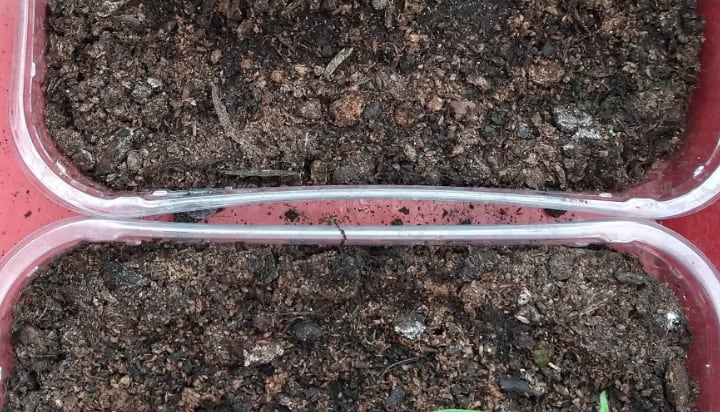
Line the bottom of the container with a couple of inches of planting soil. You want to make sure your soil is moist but not soggy.
Tip: Flatten the soil out using the palm of your hand or some special gardening tool, if you have one.
Step 4 – Plant the Seeds
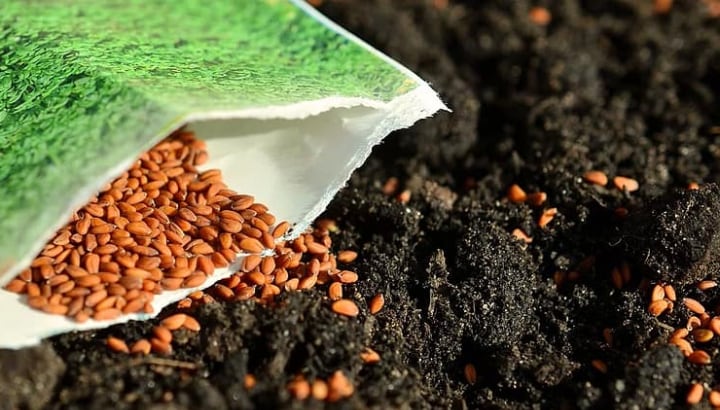
Carefully scatter the seeds over the soil, pressing them down gently with your palm. Don’t dig them into the soil and try to keep the overall surface as level as possible.
Step 5 – Cover the Seeds
Cover them with a thin (1 inch or so) layer of soil and flatten it as we did earlier. You don’t want to “bury” the seeds, otherwise they might not have the strength to sprout through.
Step 6 – Mist the Soil

Gently fill a mister with cool water and spray over the surface.
While your seeds are sprouting, you don’t want to actually water the soil, but rather mist the top-most layer once or twice a day.
This will keep it wet but won’t run the risk of getting soggy.
Step 7 – Cover the Soil
Once you’ve misted the soil, make sure you cover with some sort of plastic or see-through cover, and only remove this to mist the seeds 1-2 times daily.
This process can take anywhere from 3 to 7 days, so be patient,+ and wait for your seeds to sprout above ground.
Step 8 – Keep Misting
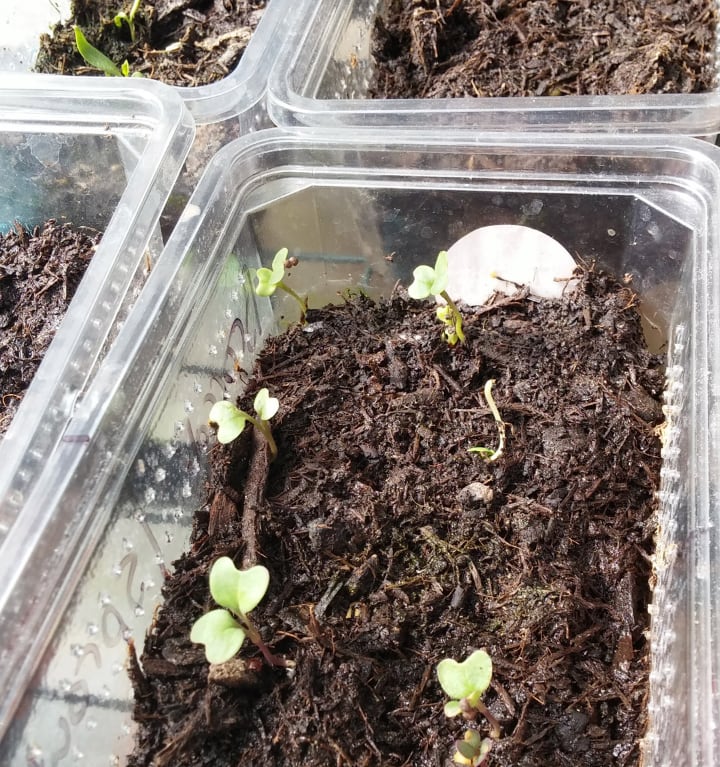
Once your seeds have sprouts above the soil line, you can remove the topper, and continue misting once or twice daily, until the microgreens are ready to harvest.
At the end of the day, microgreens are generally easy to grow, if you follow the tips above. However, depending on the seed type, you may need to provide them with additional care or special growing conditions.
So, it might be a good idea, when you decide what you want to grow, both to read the instructions, as well as look for any growing tips online for that particular type of green.
A Word About Covering Your Seeds
You may be a little confused about whether or not you need to cover your seeds. The truth is, most greens won’t need to have an initial period where they’re covered, as they can handle light pretty well.
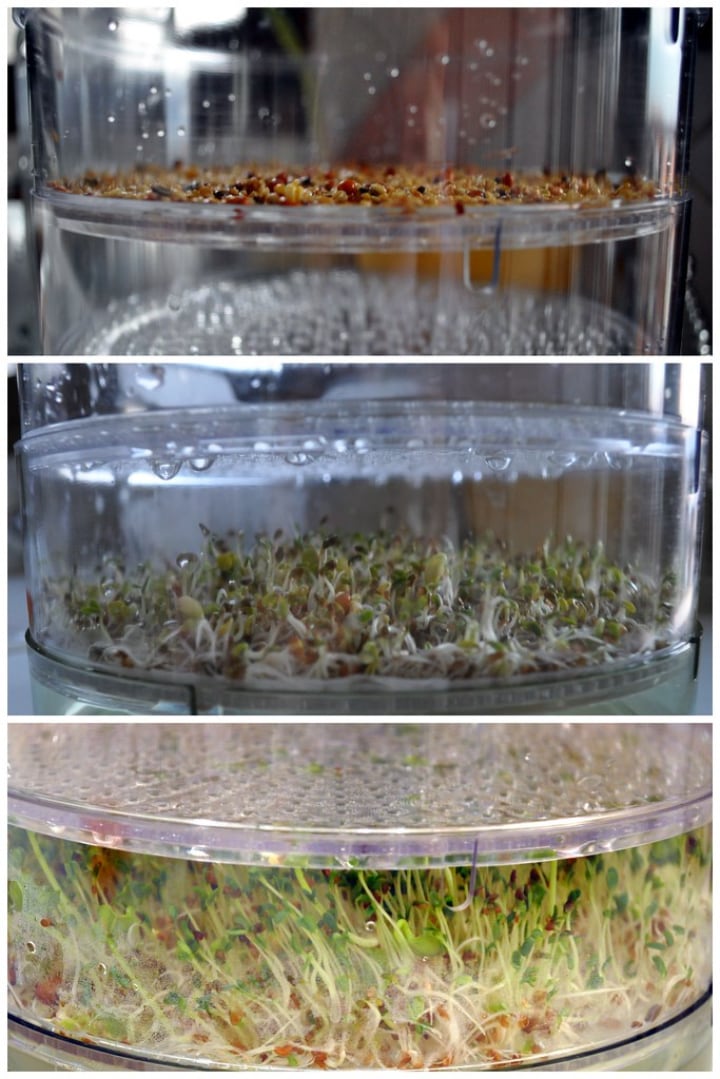
However, some will need to be kept in relative darkness for the first few days until they are strong enough to accept light.
We recommend checking the type of seed you’ve bought to determine what’s best.
Growing Microgreens with a Growing Kit
If the above growing plan sounds like too much of a hassle for you, you can alternatively purchase a microgreen growing kit online.
Many such kits come with already prepared trays and pretty much all you need to do is make sure you water the greens regularly.
This may be easier, particularly if you’re not known for your green thumb, or if you don’t have a lot of time or patience.
But bear in mind that while microgreens are resilient, they are also fragile. If you let them go without sun or water for too long, they are likely to collapse.
Tip: You can still salvage microgreens if you didn’t care for them properly for a couple of days. Just make sure to follow promptly the proper maintenance routine (e.g. expose them to light and mist), and they are quite likely to recover.
Microgreens Hydroponics Benefits and How It Works
To understand hydroponics, let’s recall how a plant grows. The reason you need to plant anything in soil is that the plant absorbs its necessary oxygen, water, and nutrients from the soil.
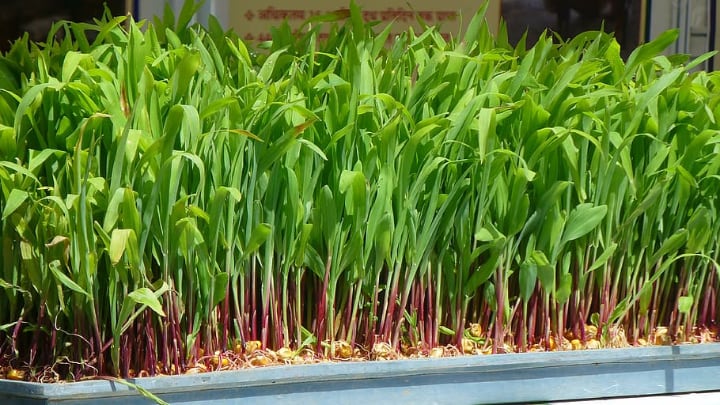
But when you’re using hydroponics, that’s no longer true. By keeping your seeds in an aquatic environment, you’re allowing them to absorb all the nutrients they need, without soil as an intermediary.
What Exactly Are the Seeds Grown In?
Hydroponics involves growing your greens in a special substance that is well-fertilized and has a balanced pH, to make sure that it provides all the nutrients needed by your microgreen plantation in order to thrive.
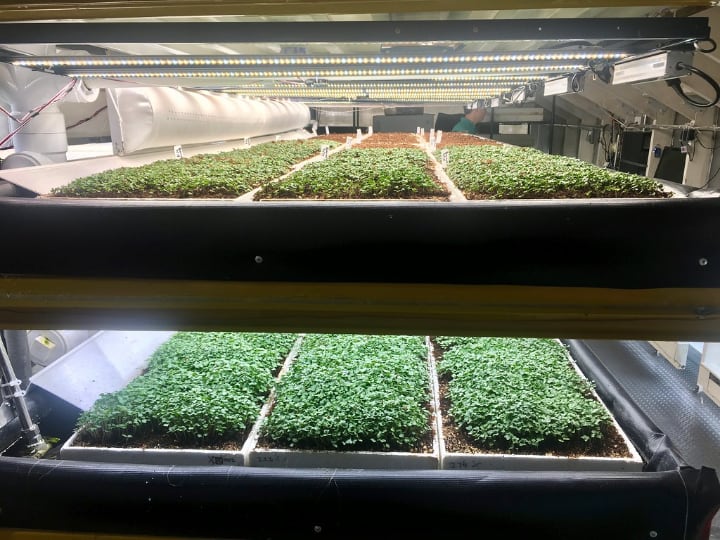
Although it sounds quite complicated (and more than a little futuristic), hydroponics is actually a really easy and convenient growing method.
Why Use Hydroponics?
More and more home-growers are coming over to the hydroponics side for the many benefits it carries.
- With hydroponics, you don’t need a special growing place, conditions, or lighting. You can grow your plants anywhere as they absorb all they need from the fertilized water. And you can grow them all year round.
- Hydroponics also makes growing plants less messy. Since you’re not dealing with trays of dirt, there’s no risk of accidentally spilling them over, getting soil matted into the carpet, or disposing of it when you’re done.
- Since you are in charge or preparing or choosing the fertilizer you add to the water, you have more control. Different types of microgreens may require more of one nutrient, but less of another, and vice versa. By using hydroponics, you can create the ideal growing conditions for any type of microgreen.
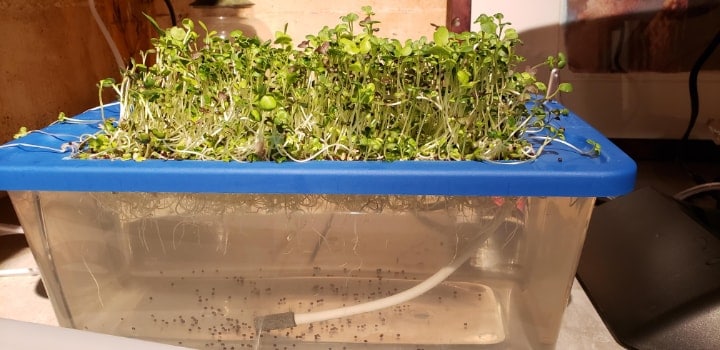
As with anything, there are arguments both for and against hydroponics. But it’s definitely an option worth considering, particularly if you want to avoid the mess or if you can’t find an ideal growing space.
We wrote a comprehensive guide on hydroponics, so make sure you check that one out.
Did you know: Some microgreens actually preferhydroponics to regular, soil-based growth. Plants like kale, kohlrabi, and other greens have more plentiful yields when grown in water.
How to Harvest Microgreens
Yes, microgreens grow quite rapidly, but make sure that in your eagerness to harvest, you don’t cut them off too quickly.
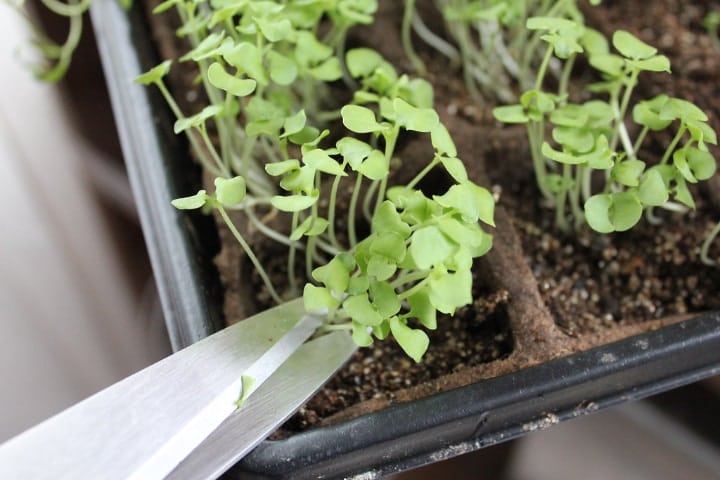
It’s quite likely that your microgreens will form some initial leaves, which you might mistake for actual leaves. They’re not. They’re called cotyledons, or if you will, fake leaves.
Wait Until the Plants Are 2 Inches Tall or So
So, following the instructions above, you’ve been growing your microgreens for about 10 days, maybe 2 weeks.
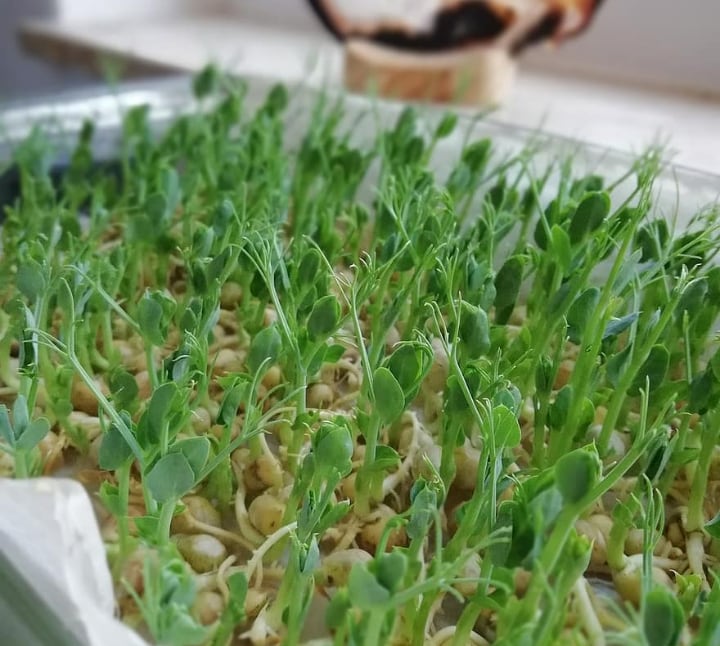
Your plants should be about 2 inches tall now–that’s the average height at which most greens are harvested. They should also be sprouting their first leaves.
Use Clippers
For the harvesting process, you’ll need a special clipper. If you must, use a small and sharp pair of scissors.
Make the Right Cut
Sever the leaves as close to the growing area as possible.
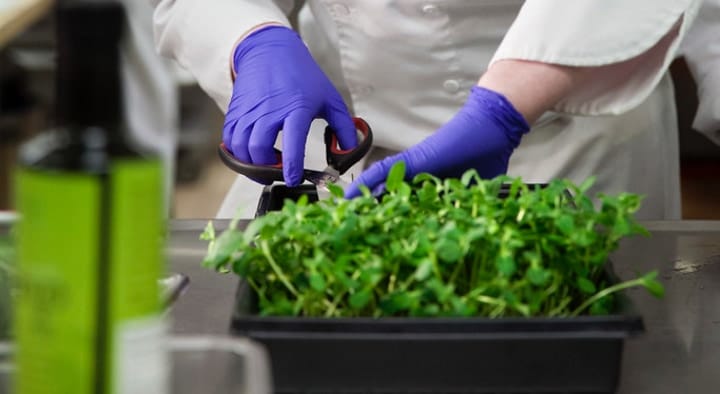
Make sure you don’t pull the plants, as that might disturb their growth and stop them from regrowing in the future.
Mistakes to Avoid When Growing Microgreens
Don’t be one of those microgardeners who learn things the hard way from their mistakes. Below you’ll find some of the most common mistakes people make when growing and harvesting microgreens and how to avoid them.
- Don’t harvest your leaves wet. When you’re cutting, the leaves will likely fall on the soil underneath. If they’re wet, they’ll get dirty and will need to be washed to get rid of the soil. Wet leaves are also prone to mold and have a worse shelf life.
- Don’t believe the fertilizing hype. Many people insist on adding fertilizer to their plants, but that’s not really necessary with microgreens. See, the seeds you bought already have quite a bit of nutrients stored in them, so they don’t need extra.
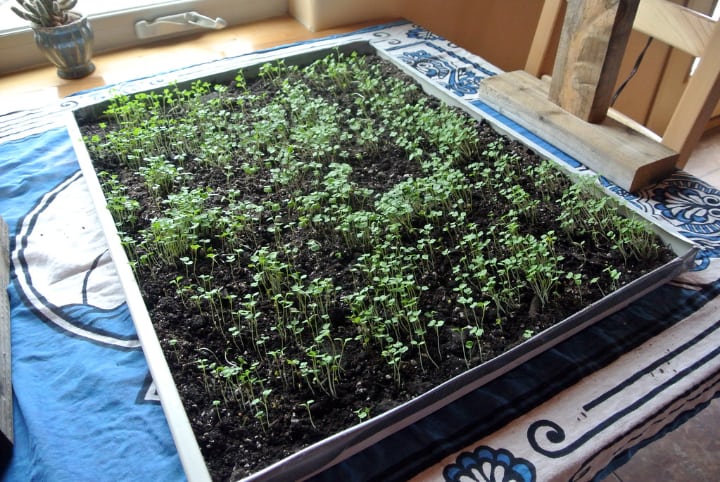
- Following from that point, if you’re using special planting soil, as you should, chances are that already has all the necessary nutrients to feed the plant. So at this point, adding fertilizer is just a waste of time and money, as your microgreens don’t really need it.
- Speaking of money, you don’t want to choose the cheapest seeds possible. On the contrary, opt for something organic, free of pesticides that may harm your growth (not to mention your health!).
- Read the labels on the seed pack carefully! Many people make the mistake of assuming one seed pack is pretty much like any other, but that’s not true, and you will likely taste the difference!
Microgreens Kit Buying Guide
As we mentioned, if you don’t have the patience or time to follow the above growing guide, you can simply purchase a special microgreens kit and get going.
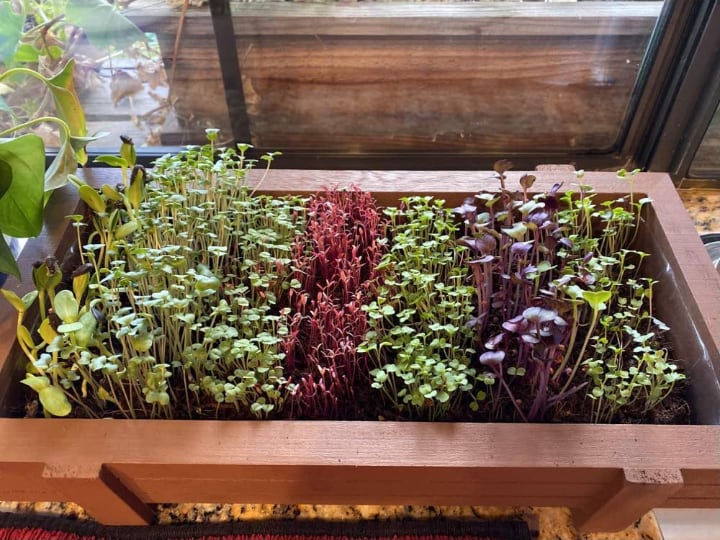
This can also be a good option to save time on looking for each necessity yourself.
Soil for Microgreens
Your ideal kit should include enough soil for your planting trays. You will also want to pay attention to the quality of the soil.
Again, it is important that it’s not treated with pesticides or other harmful chemicals, as those will go directly on your plate later on.
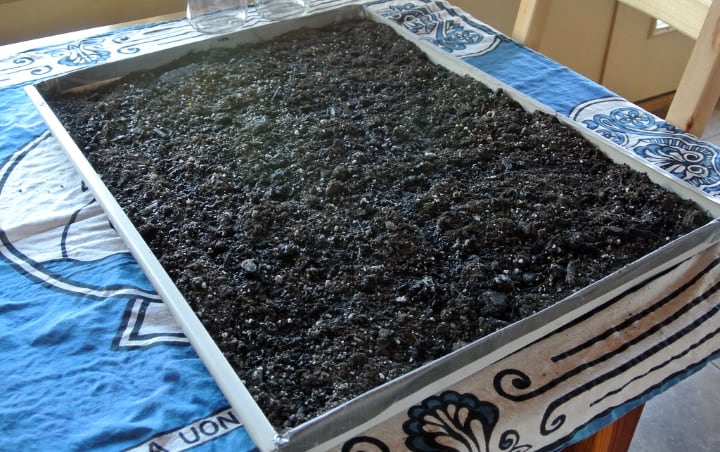
Tip: You also want a soil that is rich in nutrients, so that your microgreens can grow strong and don’t require too much additional worry and care on your part.
When choosing a kit, you’ll be able to opt between soil media, soilless media, or growing pads. Don’t worry, they all have the necessary nutrients, it’s all a matter of personal preference and what’s best for the chosen seeds.
Microgreens Tray
Choosing the tray is a matter of preference and available space. Some people opt for biodegradable materials, while others focus on color, so this part is up to you a lot.
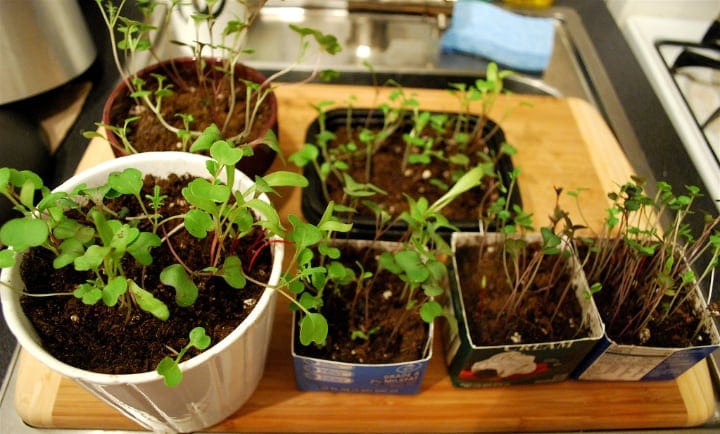
The tray chosen will also depend on the type of growing you’re going for. For example, if you’re growing your microgreens from growing pads, your tray won’t need any draining holes.
Technically, it won’t need draining holes if you’re growing with soil either, although they are recommended.
Microgreens Grow Light
Microgreens need a good source of light and will usually require at least 4-5 hours of direst sunlight each day. This is why it’s important that you either leave them uncovered while they absorb light, or you use a transparent plastic cover.
If you have one available, you can also use a growing light for several hours a day. This can be useful if getting that amount of sunlight each day is tricky where you live.
Since you’re growing them indoors, you can just as easily grow microgreens in winter. But you will need to make sure you don’t leave them out in a cold area of the house for too long.
Tip: Use the growing light plentifully, as microgreens tend to need more light during the cold months.
Microgreens Seeds
Last but certainly not least, a word about seeds. Look for seeds that are USDA certified, not genetically modified, and preferably organic.
Again, you want to pick the highest quality available and should make no compromises.
Our Top Microgreens Recipes
In this section, we’ll be talking about the best ways to use your freshly grown microgreens. They are very versatile plants and can be added to pretty much any dish.
They add a strong flavor and also pack a lot of nutrients, so you’re in for both a healthy and a delicious treat!
Recipe #1: Microgreens Salad
We figured we had to start off with a salad. This delicious, cute-looking dish is super quick and easy to prepare.

You can add any type of microgreen available and can pick and choose from the other ingredients, to taste. It’s a light, summer treat that will make an excellent, nutritious side to almost any meal.
Recipe #2: Avocado Hummus Toast with Microgreens
As if avocado and hummus weren’t enough to make a delicious snack, adding savory microgreens will surely get your taste-buds going, while also filling your belly with essential nutrients.
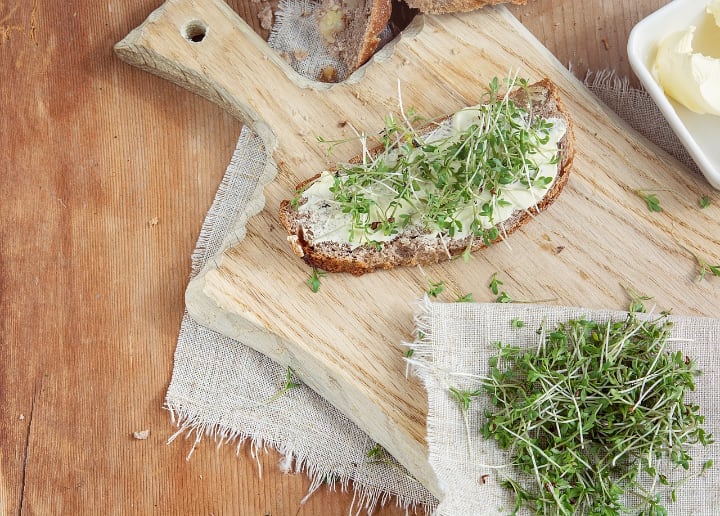
You can either use store-bought hummus, or better yet, make your own!
Recipe #3: Veggie Microgreen Fajitas
These veggie fajitas are lighter than regular, chicken ones. They’re easy to cook and extremely tasty when you use a fresh batch of microgreens for flavoring.

Cooked in just thirty minutes, these veggie fajitas are going to be your next big favorite.
Recipe #4: Parmesan Microgreen Pizza
Just because we’re eating healthy doesn’t mean we should be neglecting pizza! This delicious recipe is super flavorful.

But what we love most about it is that it doesn’t taste like your traditional slice of greasy pizza.
No, this recipe will yield a healthy and delicious treat, covered with nutritious veggies, sweet corn and melted cheeses.
Recipe #5: Egg White Microgreen Omelet
Yet another delicious and light summer treat. Easy to make and with a flavor, this omelet may change the way you look at eggs forever.

It only takes a few minutes to prepare and yields an excellent, milky treat, topped with nutritious microgreens.
Microgreens Frequently Asked Questions
You learned quite a few things about microgreens so far, right? Now, in this section, we’ll be taking a look at some of the most commonly asked questions we’ve been hearing about microgreens, covering everything from growing to cooking them!
What are the health benefits of microgreens?
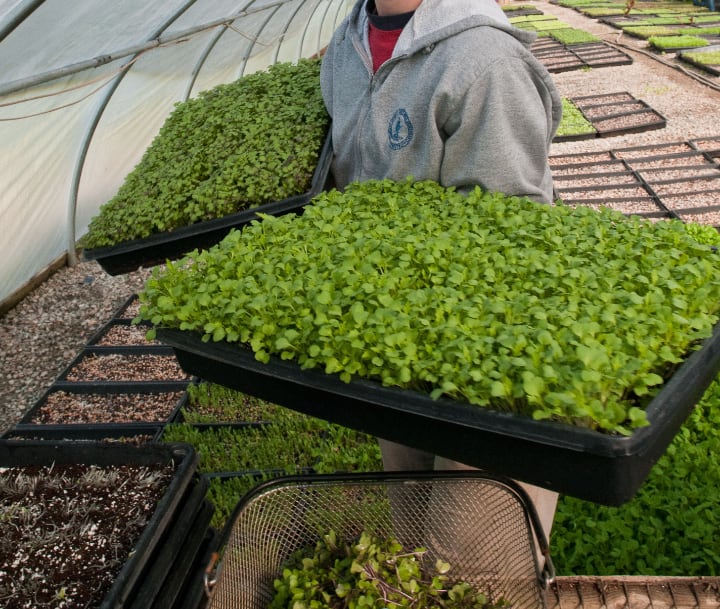
There are many benefits you can reap when growing and consuming microgreens, as we’ve seen above. They deliver a healthy dose of nutrients, allow you to get your daily dose of vitamins, and are packed with antioxidants. Antioxidants help prevent and fight various serious afflictions, like cancer, Alzheimer’s disease, diabetes, and more.
How do you eat microgreens?
One of the best parts of microgreens is that they are just so versatile. There isn’t just one way to consume them, but rather the sky is the limit–there are lots of recipes you can try! You can add microgreens to a salad, omelet, pizza, burgers, tzatziki sauce, and even cakes. Since there are so many types of microgreens you can grow, there are endless recipes you can include these varied greens in, for an extra dose of health and flavor.
What is the best microgreens to grow?
The choice depends largely on your own personal taste, as well as the purpose for which you’re growing them. In order to identify the best microgreens for you, you should first figure out what you’re most likely to use them for (e.g. raw in salads, or to flavor cooked dishes).
Determining the best microgreens also depends heavily on your level of experience. Radish, cabbage, arugula, broccoli, lettuce, and kohlrabi are considered some of the best microgreens for beginners, mainly because they’re really easy to care for. Wheatgrass, peas and sunflower microgreens, on the other hand, are considered some of the tastiest.
Why are microgreens so expensive?

The process of growing and caring for microgreens can be quite laborious. You have to be precise in their watering, lighting, and soil, more so than with normal veggies, which is why store-bought microgreens tend to be more expensive than regular vegetables.
A Micro Treat, with Some Macro Health Benefits!
As we’ve seen, it may be a little difficult to get into growing microgreens, at least at first, but after a while, it’s easy to become an expert.
There are many, many microgreen types to choose from, each with its own flavor and uses, so basically, there’s a microgreen for everyone.
Whether you’re the broccoli type or not, microgreens provide a nutritious meal full of antioxidants. Not to mention that the process of growing them promotes calm and relaxation.
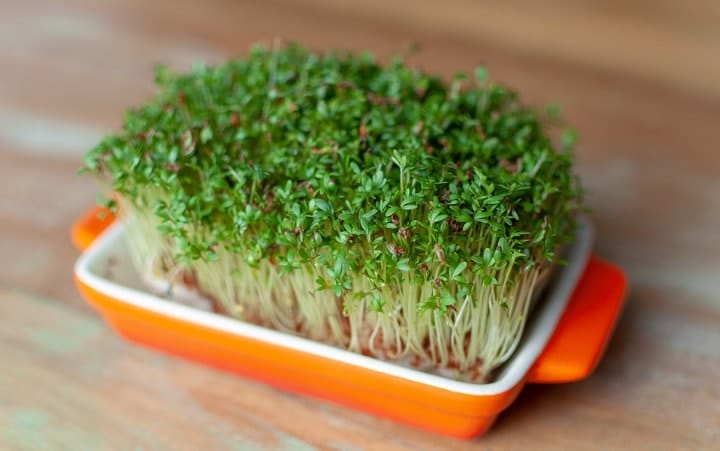
We hope this guide has given you a good idea of how you can start growing your own microgreens, and even more importantly, why you’d want to do that!
Have you ever grown microgreens? Or are you thinking about starting now? Did you realize you can also put some of the sprouts in your terrarium for the insects to indulge in?
Let us know in the comments below. And don’t forget to share this article if you found it useful. Let’s spread the word together about the beautiful benefits of microgreens!

Leave a Reply